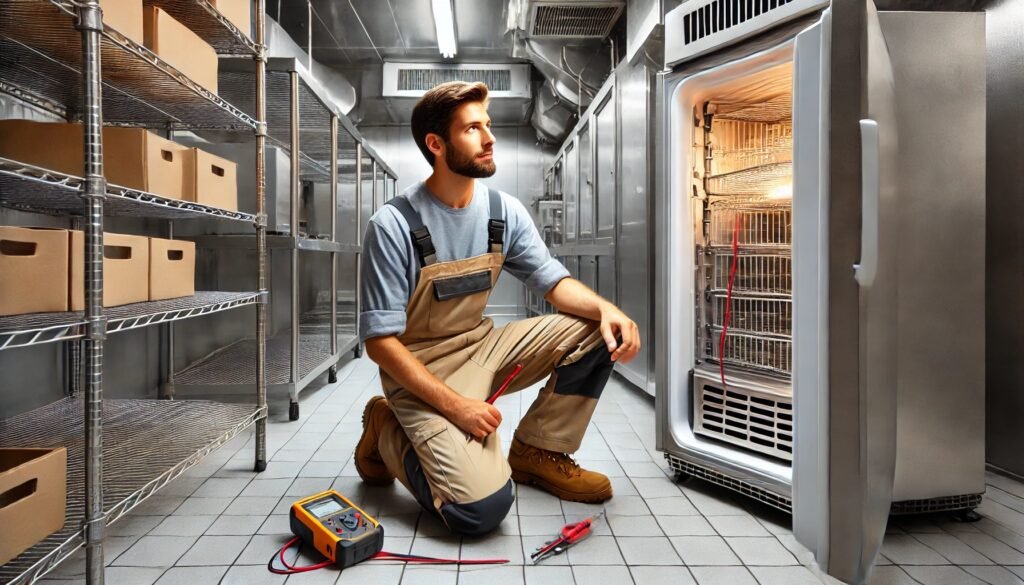
The Ultimate Walk-In Cooler Repair Guide: Troubleshooting, Costs, and When to Call a Pro
Every restaurant kitchen, grocery store, and food distribution facility depends on one piece of equipment that rarely gets attention—until it fails. A walk-in cooler hums away in the background, day and night, preserving thousands of dollars in perishable inventory. When the humming stops or the temperature creeps upward, walk-in cooler repair becomes an immediate priority. Food safety regulations give you only a short window before product must be discarded. Revenue doesn’t just pause; it evaporates.
This guide gives you clear, actionable information about walk-in cooler repair. No sales pitches. No invented statistics. Just practical guidance drawn from how these machines actually work, what commonly goes wrong, what you can safely handle yourself, what a repair should cost, and when picking up the phone beats picking up a wrench.
Table of Contents
- How a Walk-In Cooler Works
- Common Problems and Warning Signs
- Step-by-Step Troubleshooting
- DIY Repairs vs. Professional Service
- Understanding Repair Costs
- Finding a Qualified Technician
- Preventive Maintenance
- Emergency Protocols
- Frequently Asked Questions
How a Walk-In Cooler Works: Key Components Explained
Understanding what’s under the hood—or more accurately, on the roof and inside the box—gives you a significant advantage when something goes wrong. You don’t need an HVAC degree, but knowing what each major part does helps you describe problems accurately to a technician and spot issues before they cascade. While designs vary, walk‑in coolers from major brands such as Kolpak, Nor‑Lake, and Bally share the same fundamental components.
The Refrigeration Cycle in Plain Terms
A walk-in cooler operates on the same principle as your household refrigerator, just scaled up. Refrigerant circulates through a closed loop, absorbing heat from inside the cooler and releasing it outside. The cycle has four main stages: compression, condensation, expansion, and evaporation. Here are the components that make it happen:
- Compressor: Often described as the heart of the system. It pressurizes the refrigerant gas, raising its temperature, and pushes it toward the condenser. Compressors are typically located on top of the cooler or in a remote machine room.
- Condenser Coil: Hot, high-pressure refrigerant gas flows through this coil, where a fan blows ambient air across it. The refrigerant sheds heat and condenses back into a liquid. You’ll find the condenser unit outdoors or on the roof in most installations.
- Evaporator Coil: Located inside the cooler, this is where the magic happens. Liquid refrigerant enters at low pressure, expands, and rapidly absorbs heat from the surrounding air. A fan blows air across the cold coil, circulating chilled air throughout the box. This is the unit you see mounted on the ceiling or wall