
Walk-In Cooler Repair: Common Mistakes to Avoid
A walk-in cooler is more than a refrigerated room — it’s the heartbeat of a food service or retail operation. When it falters, inventory worth thousands of dollars hangs in the balance, health code compliance is at risk, and business can grind to a halt. The pressure to fix it fast often leads well-meaning owners and maintenance staff to attempt repairs themselves. While self-reliance is admirable, walk-in cooler systems are complex and unforgiving. One small error — the wrong refrigerant top-off, a misdiagnosed electrical component, a gasket installed backward — can snowball into a compressor burnout or a complete system replacement costing far more than a professional service call. This article details the most frequent and financially painful repair mistakes, so you can recognize them, avoid them, and make informed decisions that keep your cooler running reliably and your inventory safe.
Key Takeaways: The 10 Most Common Walk-In Cooler Repair Mistakes
- Adding refrigerant without finding and repairing the leak
- Misdiagnosing capacitors and relays as compressor failure
- Neglecting dirty or iced‑up condenser and evaporator coils
- Installing door gaskets incorrectly, leaving air leaks
- Misunderstanding defrost timers and heater operation
- Ignoring condensate drain clogs that cause water damage
- Skipping routine preventative maintenance
- Using universal or generic parts instead of OEM components
- Faulty thermostat sensor placement or calibration
- Bypassing safety controls and overlooking serious hazards
1. Refrigerant Fumbles: Overcharging, Leaks, and Using the Wrong Type
Refrigerant is not a fuel that gets “used up.” If a system is low on refrigerant, there is a leak. Period. One of the most common and destructive mistakes is topping off refrigerant without locating and repairing the leak. Adding refrigerant may restore cooling temporarily, but the leak persists, releasing harmful chemicals into the atmosphere and eventually starving the system again. This error turns a simple refrigerant leak repair into a recurring cycle of topping off and eventual compressor failure.
Overcharging is equally dangerous. When too much refrigerant floods the system, liquid can slug back to the compressor. Compressors are designed to pump vapor, not liquid. Liquid slugging damages valves, pistons, and scroll mechanisms, often leading to catastrophic walk-in cooler compressor failure. An overcharged system also elevates head pressures, placing enormous strain on the compressor motor and condenser fan.
Whenever the sealed system is opened — for a leak repair or component replacement — a new filter drier must be installed. The drier captures moisture and debris that would otherwise circulate and cause acid formation or blockages. Many systems include a sight glass; while a clear sight glass can indicate full liquid line, it does not guarantee proper charge. Bubbles typically signal undercharge or moisture, but a dirty sight glass or certain operating conditions can mislead. Always verify superheat and subcooling before concluding a charge is correct.
Note on older systems: Walk-in coolers manufactured before 2010 may use R‑22, which is being phased out. Topping off an R‑22 unit becomes increasingly expensive and unsustainable; considering a retrofit to a compatible alternative or upgrading the entire condensing unit is often the more economical long‑term decision. Newer units may use flammable refrigerants like R‑290 (propane); working on these systems requires specialized training and adherence to safety protocols due to the ignition risk.
Example: A restaurant manager notices the cooler is hovering at 48°F. A handyman adds two pounds of R-404A without checking superheat or subcooling. The system appears to cool for a day, then the compressor begins knocking and seizes. The real culprit was a loose Schrader valve core — a $2 part that leaked refrigerant over weeks. The compressor replacement cost exceeded $3,000.
2. Electrical Guesswork: Misdiagnosing Capacitors, Relays, and Wiring
A compressor that hums but does not start is one of the most frequently misdiagnosed symptoms in walk-in cooler repair. The immediate assumption is often “the compressor is dead.” In reality, the problem frequently lies in the start capacitor, run capacitor, or potential relay. These components provide the necessary phase shift and torque to get the compressor motor spinning. When they fail, the compressor sits stalled, drawing locked-rotor amps and tripping its overload protector.
The correct diagnostic approach uses a multimeter with capacitance measurement. A start capacitor that reads significantly below its rated microfarad (µF) value — typically a 10% tolerance — must be replaced. Similarly, a potential relay with welded contacts will not drop the start capacitor out of the circuit after startup, causing the capacitor to overheat and fail repeatedly.
Wiring mistakes are another hazard. Loose terminal connections create high-resistance points that generate heat, melt insulation, and can ignite nearby materials. Reversing run and start windings during a compressor replacement will prevent the motor from starting and may damage the new compressor within seconds. Improperly sized wire or bypassed safety controls (a dangerous “temporary fix”) remove critical protections against overheating and overcurrent.
Suggested read: Walk-In Cooler Repair — A Step-by-Step Tutorial for DIY Troubleshooting and Common Fixes
3. Airflow Neglect: Dirty Coils and Blocked Vents Sabotage Cooling
A walk-in cooler does not “make cold” — it removes heat. The evaporator coil absorbs heat from inside the cooler; the condenser coil rejects that heat outside. Both processes depend entirely on unobstructed airflow. When airflow is compromised, every other component suffers.
A dirty or iced-up evaporator coil is frequently mistaken for a refrigerant undercharge. Technicians or owners see frost on the coil and assume low refrigerant, adding more to an already properly charged system. The real cause is often a layer of insulating ice preventing heat transfer — which itself may result from a defrost failure, a clogged drain, a dirty coil, or a failing evaporator fan motor. Regular evaporator coil cleaning — using a soft brush, fin comb, and approved coil cleaner — can restore efficiency without any refrigerant adjustment.
On the condensing unit side, a condenser coil caked with grease, dust, and debris cannot reject heat effectively. Head pressure rises. The compressor runs hotter and draws more amps. Over time, this leads to oil breakdown, acid formation, and compressor motor burnout. A simple coil cleaning can drop head pressure significantly and reduce energy consumption.
Clearance matters. Condensing units require a minimum clearance specified by the manufacturer — often 18 to 36 inches on all sides — to allow adequate air intake and exhaust. Stacking boxes, trash bins, or fryer oil containers next to the condensing unit starves it of air and defeats even a clean coil.
4. Door Gasket Blunders: Poor Seals Cause Temperature Swings and Compressor Strain
A walk-in cooler door gasket may seem trivial compared to a compressor or expansion valve, but a compromised seal is one of the most insidious destroyers of refrigeration systems. A torn, brittle, or improperly fitted gasket allows warm, humid ambient air to infiltrate the cooler continuously. This does two things: it raises the internal temperature, causing the thermostat to call for cooling more often, and it introduces moisture.
That moisture condenses on the evaporator coil as frost. The frost builds, insulates the coil, reduces heat absorption, and forces the compressor into longer run cycles. Eventually, the coil becomes a solid block of ice. The compressor runs almost nonstop, power bills spike, and the risk of liquid slugging increases. A professional door gasket replacement can pay for itself quickly in reduced energy and spoilage.
Common installation errors: Stretching a gasket during installation so it no longer aligns with the door frame. Using the wrong gasket profile meant for a different door manufacturer. Failing to soften a new gasket with warm water before fitting it into the retaining groove, causing it to kink or bunch. Not checking the door’s alignment — a sagging door will not compress a new gasket evenly, leaving gaps even with a perfect seal.
5. Defrost System Confusion: Misaligned Timers and Failed Heaters
Every walk-in cooler that operates below freezing (freezers) requires a defrost cycle to melt accumulated frost from the evaporator coil. Coolers

Related Posts

New Brunswick roof repair installation guide: Complete Guide to R
Expert guide to roof repair and installation in New Brunswick, NJ. Learn about materials, costs, and weather considerations for your roofing project.
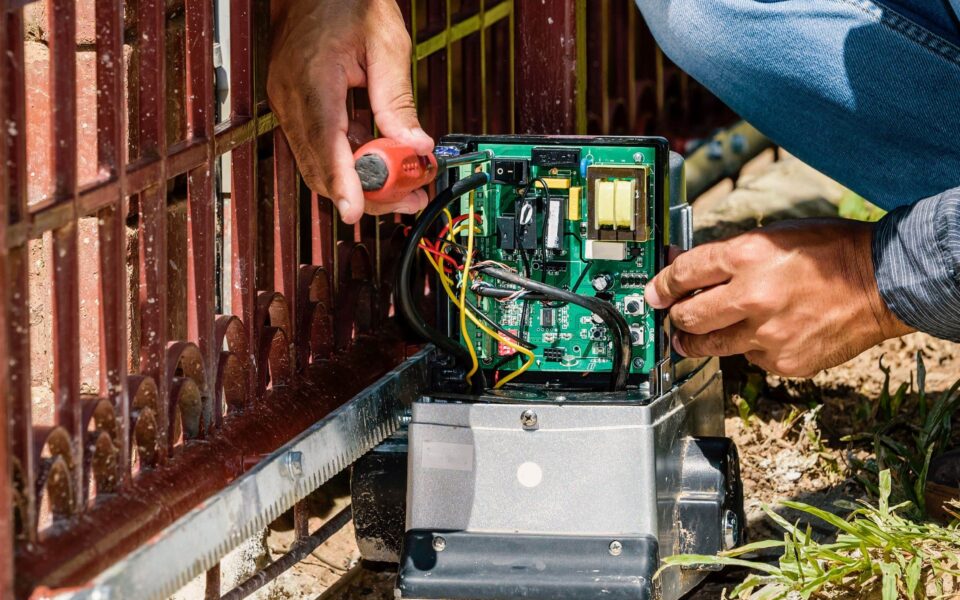
Why Is My Electric Gate Not Opening? Troubleshooting Common Issues
Electric gate not opening? Check power, sensors, and batteries. Learn common causes and safe DIY troubleshooting steps to fix it.
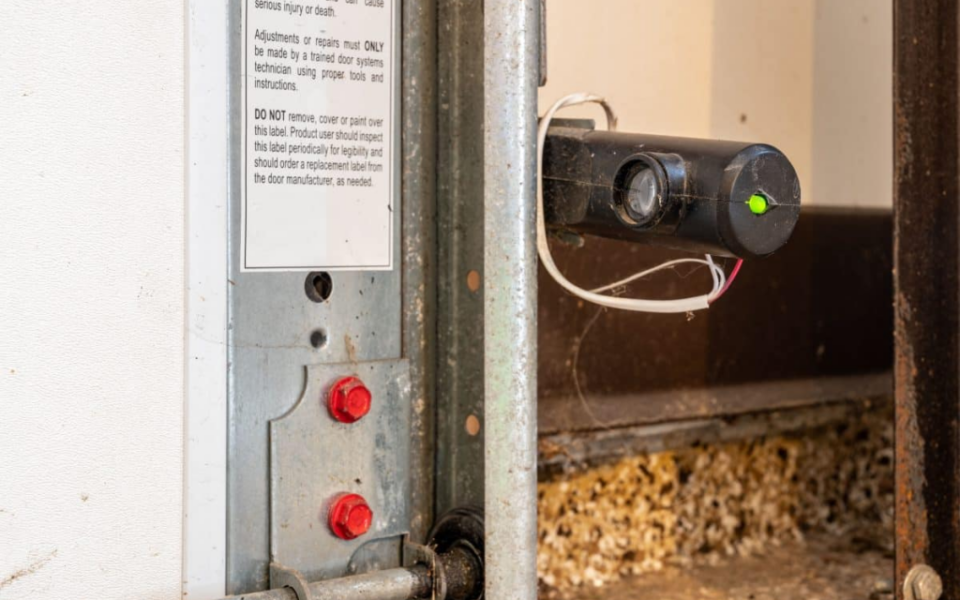
electric gate sensor repair: Electric Gate Sensor Alignment and R
Learn how to diagnose, align, and repair electric gate safety beams. Fix common issues like gate stopping or reversing with expert tips on UL 325 compliance.
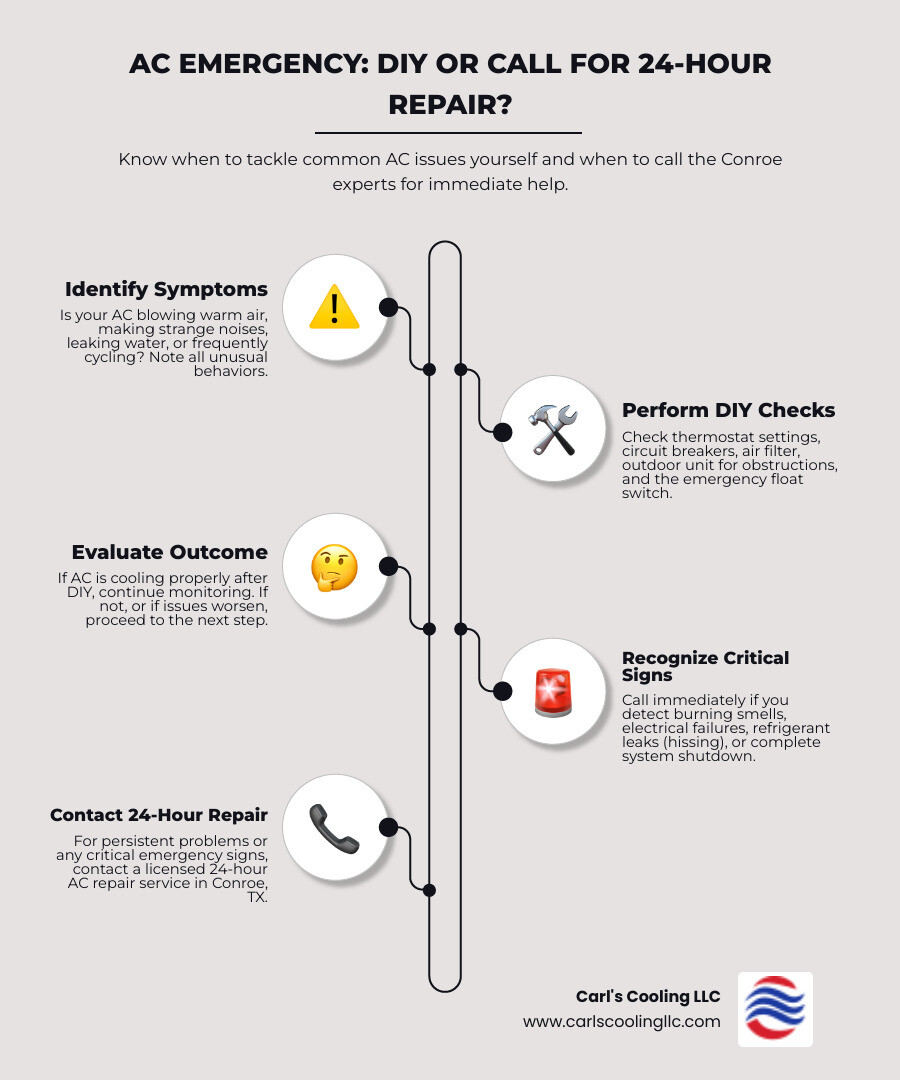
24 Hour AC Repair: Comprehensive Guide to Emergency Cooling Services
Learn about 24 hour AC repair services, emergency cooling solutions, and how to find reliable HVAC technicians. Complete guide for homeowners and businesses.

roofing repair process New Brunswick pros: What to Expect During
Complete guide to the roofing repair process with New Brunswick pros. Learn what to expect from inspection through project completion.

Choose the Best Roofing Material for Your New Brunswick Home
Expert guide on selecting roofing material in New Brunswick. Learn about climate-suited options, costs, and how to work with local roofing professionals.